Rates
Server multipliers — everything you need to know before you start.
Gameplay
Custom mechanics and quality-of-life improvements.
| Chronicle | Interlude with modified Essence Interface. |
| Buff Duration | Buffs duration time is set to 1 hour (AIO Buffs: 2 hours). |
| Max Buff Slots | 28 + 4 from Divine Inspiration. |
| Dual Box | Number of clients on one computer per HWID is 3. |
| Noble Status | Gained automatically after killing Barakiel. |
| Subclass | Gained automatically after killing Cabrio. |
| Offline Shop | Available after creating a store and double-clicking on a special certificate (the character will log out after 5 seconds). |
| Unnecessary Drops | All unnecessary drop and spoil has been removed from monsters. |
| Unnecessary Quests | All unnecessary quests have been removed from server. |
| Hot Springs Debuffs | Disabled and replaced with the Loyalty Blessing buff. |
| Weight Limit | Increased several times. |
| Death Penalty | Completely disabled on the server. |
| Unstuck | /unstuck time changed to 15 seconds. |
Featured Systems
Unique custom systems with visual walkthroughs.
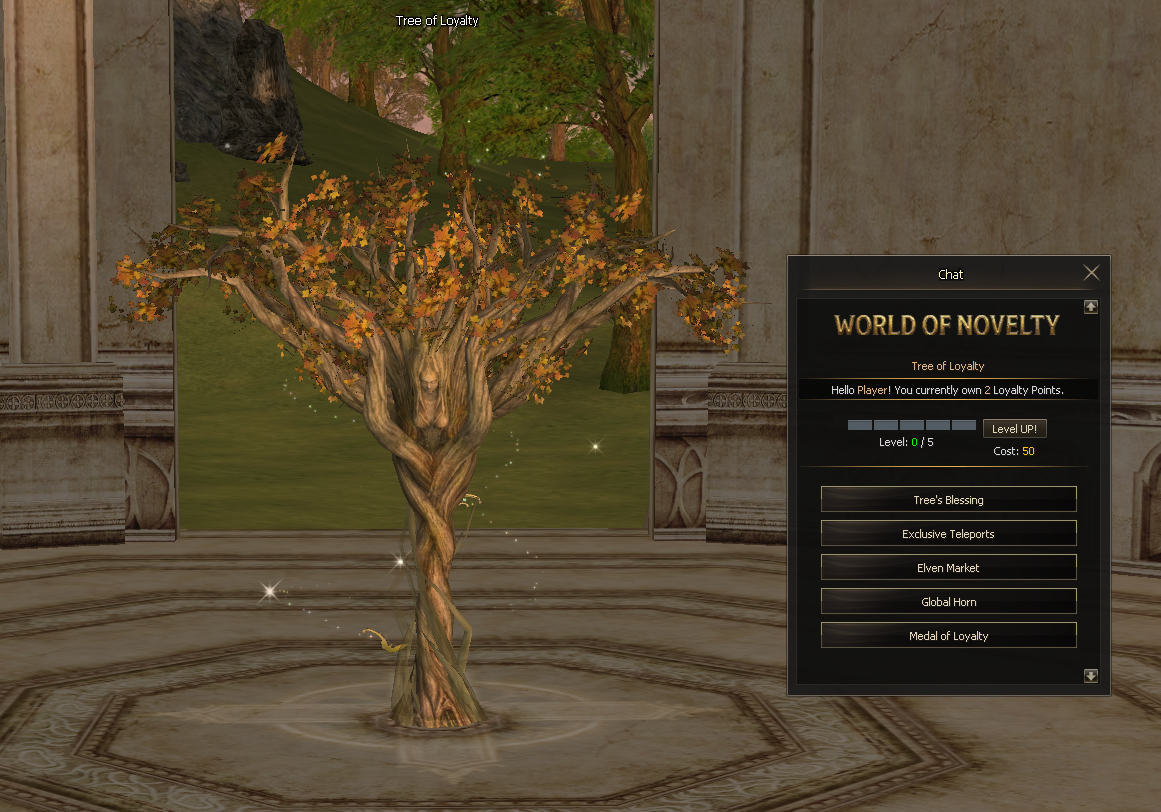
Our Loyalty System rewards your time spent on the server! Every 5 minutes of online play, you earn loyalty points, with a 20% chance to double your reward to 2 points. Visit the Tree of Loyalty in a special Elven Forest zone (accessible via Global Teleport) to spend your points and upgrade your Loyalty Level (1 to 5). Higher levels unlock exclusive perks:
- Tree's Blessing: Since Hot Springs debuffs are disabled, this unique buff provides all their powerful bonuses in one convenient click.
- Exclusive Teleports: Access secret locations like the Chaotic Disciple's Necropolis.
- Elven Market: A premium shop featuring unique items and equipment.
- Global Horn: Unlock the ability to shout globally by using the ^text command.
- Medal of Honor: The ultimate rank 5 reward granting massive privileges, including faster teleportation to Raid Bosses.
Loyalty points can also be obtained through donations to help support the server.
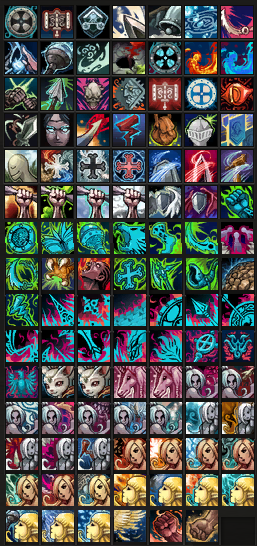
A unique character creation system in which you immediately reach level 20, change professions and dress in novice clothes. Choose your preferred Armor Set (Robe, Light, or Heavy) and any Weapon to match your style. You will also receive a starter pack including Adena, Soulshots, and HP/MP consumables, before being teleported to the main town, ready for action!

A special AIO Buffer system that provides every essential buff from all buffer classes in one place. These powerful buffs last for 2 hours, allowing for long-term hunting. The AIO Buffer is designed for town convenience, as skills can only be used within main cities and are automatically disabled in combat zones. You can obtain this status through special events or as a donation.
Once you have selected a monster, you can check its item list in the upper right corner.

Automatic potions built into the skill bar.

Enchant
Enchantment rates and limits on this server.
Augmentation
Lifestone system details — skill chances and glow effects.
Raid Bosses
Boss system, respawn times and drop tables by level range.
Olympiad
Rules and schedule for the Olympiad season.
Farm Zones
Custom farming locations and what you can obtain there.
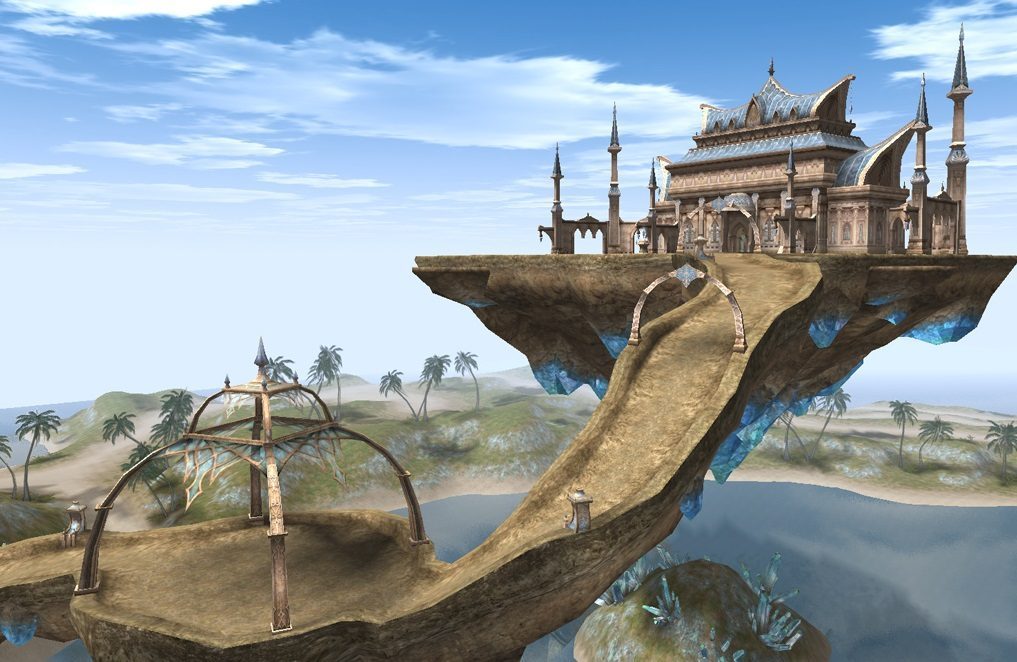

Crystal Island is a breathtaking and exclusive paradise reserved only for those who have proven their worth. Access to this shimmering sanctuary is strictly guarded, as only travelers carrying a Crystal Pass are permitted to step onto its shores. To earn this privilege, you must seek out Kaylyn in Giran and undertake the perilous quest "Road to Crystal Island", which requires you to defeat the Queen of Spirit Toas—a formidable entity whose presence blocks every exit from Giran.
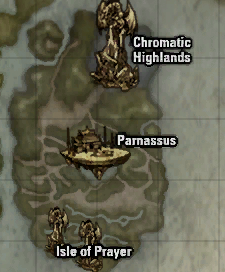
The island is a land of striking contrasts, divided into two high-reward territories. On the radiant Isle of Prayer, warriors hunt for materials needed to craft legendary Eternal armor. In stark contrast lies the Chromatic Highlands, a dark and foreboding region where shadows hide the secrets to forging devastating Vesper weapons. Hovering majestically between them is Parnassus, a levitating sanctuary that serves as the island’s dedicated safe zone.


For those who live for the thrill of the hunt, the island is home to 13 formidable Raid Bosses. While the luckiest champions may find full items among their spoils, these guardians are primarily hunted for the rare components required for high-tier crafting. With a remarkably fast respawn time of just one hour, the hunt for power is constant and always accessible to those brave enough to take it.
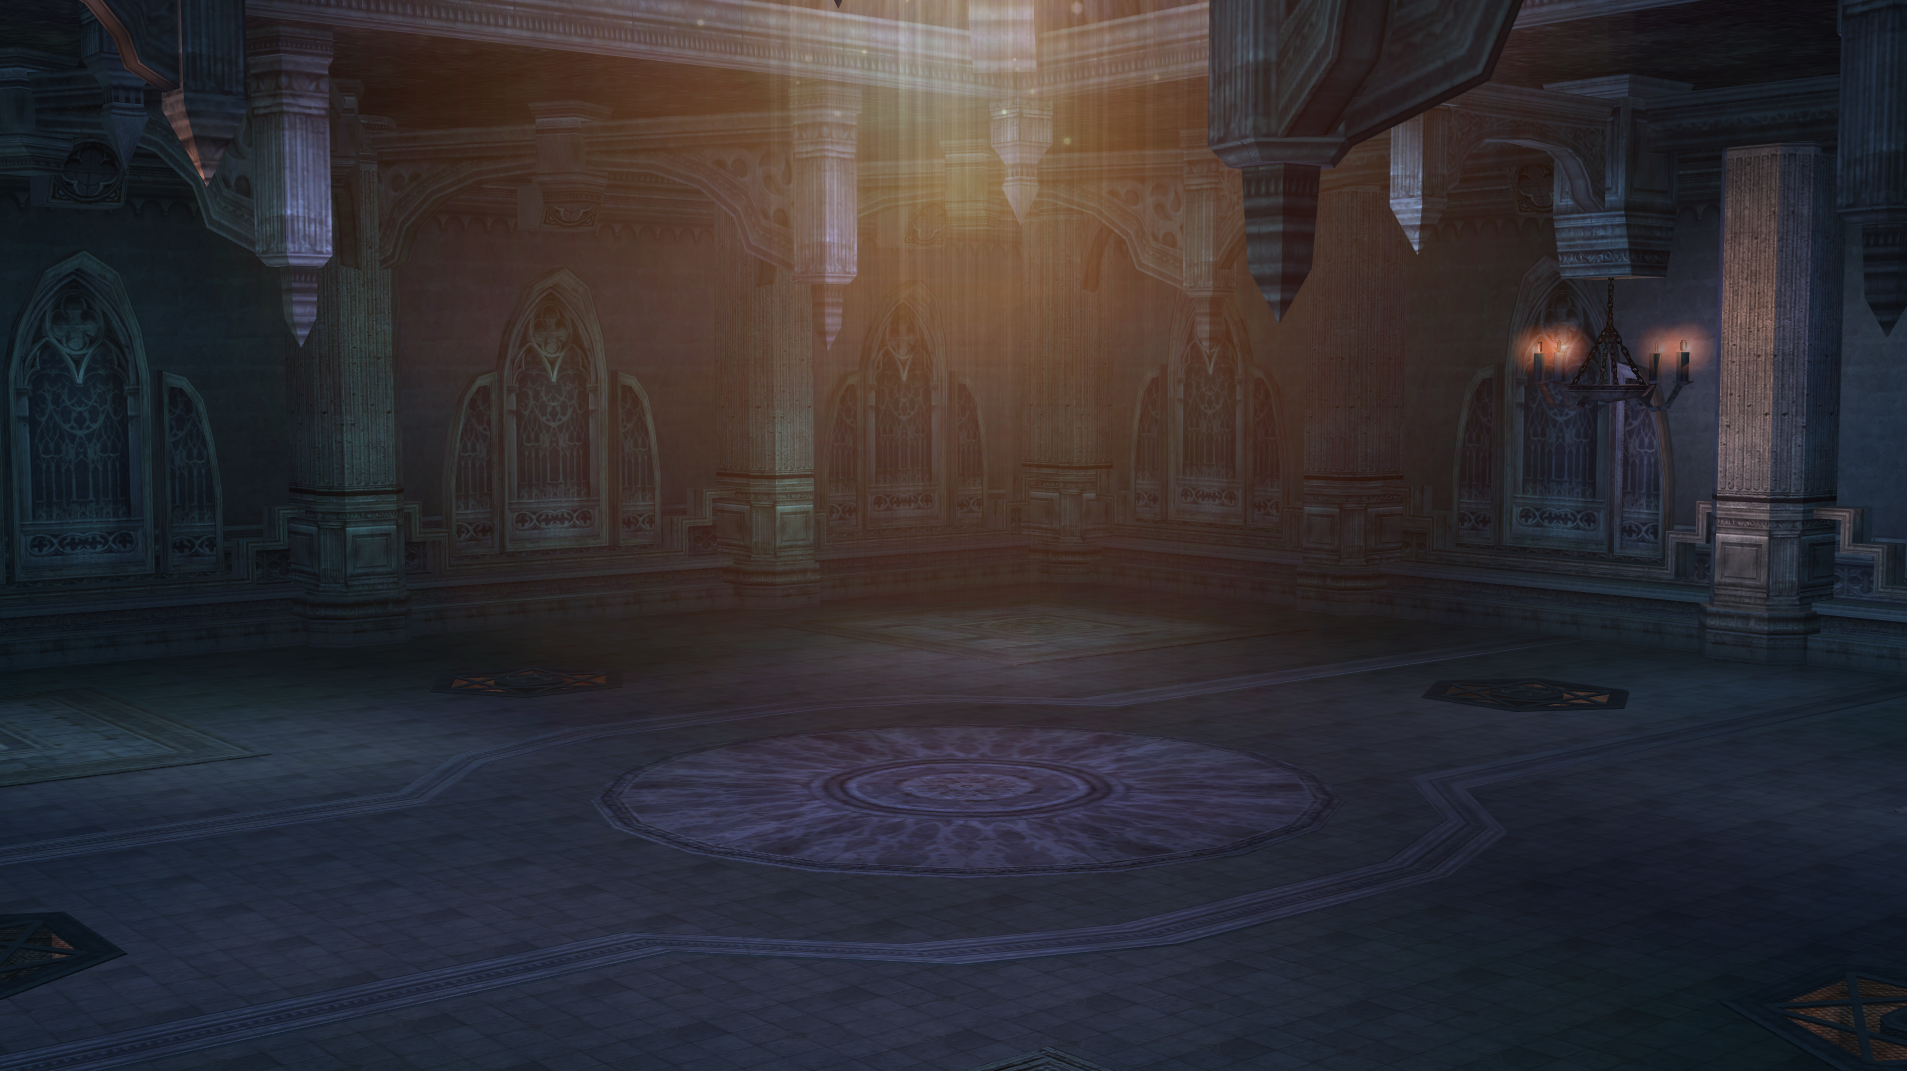
Deep within the Disciples Necropolis, a unique challenge awaits those who have unlocked the power of teleportation through the Tree of Loyalty. This is no ordinary hunt; it is a relentless descent through a series of increasingly difficult chambers where only the strongest survive. Your mission is simple yet perilous: clear each room of its inhabitants to unlock the path forward, carving a trail toward the final sanctum.
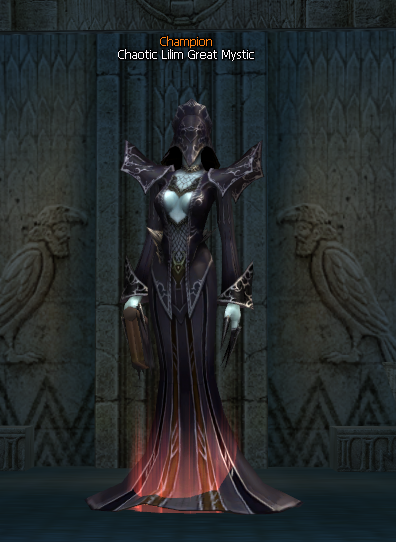
As you fight your way through, keep a sharp eye out for Champion monsters. These formidable foes possess significantly higher strength than their kin, but the treasures they carry make them a priority target for any adventurer. Upon clearing a room, a reward chest will appear ranging from standard Blue to the exceptionally rare Red which serves as both your prize and the key to the next gate.


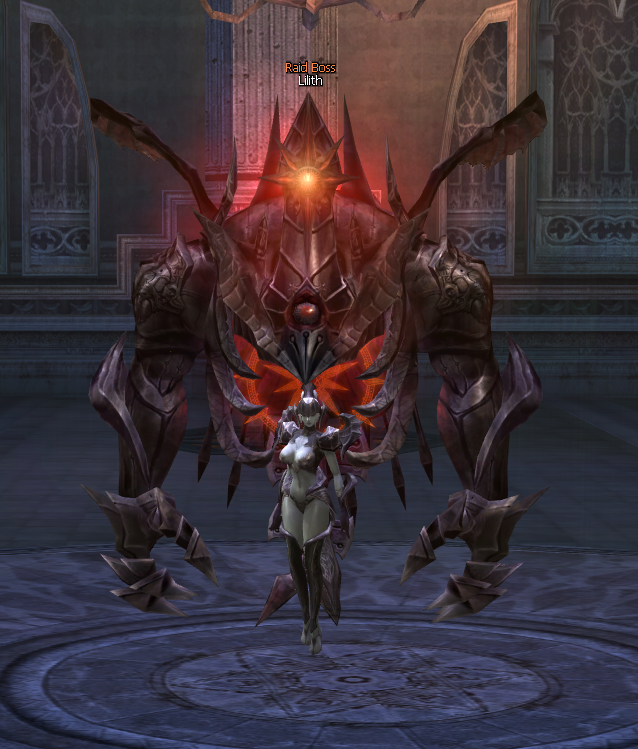
The journey culminates in a final showdown against one of two legendary powers: Anakim or Lilith. These bosses appear at random, demanding mastery and grit to be defeated. However, the monsters are not the only threat you face. The entire necropolis is a chaotic zone, meaning players can engage in combat without consequence. In these halls, death can come from a blade in the back just as easily as a boss’s spell.
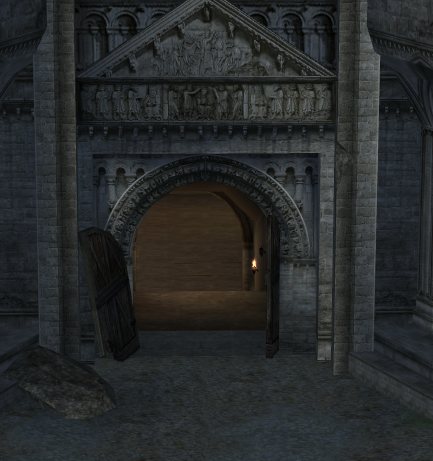
Once the final blow is struck and the spoils are claimed, all survivors are returned to town. The gates of the necropolis then seal shut, remaining closed for 30 minutes before the cycle of chaos begins anew.
While it may appear to be a standard sanctuary, the Monastery of Silence has been completely overhauled with a high-tier loot table. It stands as a premier destination for those seeking Top S-Grade weapons, armor, and jewelry. In addition to these riches, the monks and divine guardians here carry SA Crystals and Fragments, the essential components required to bestow Special Abilities upon your S-Grade arsenal.
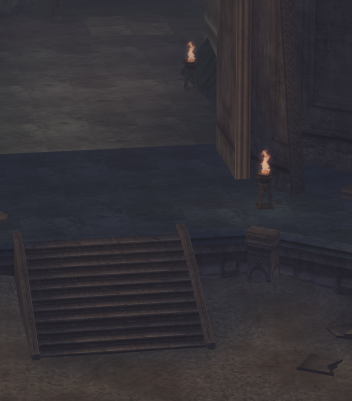
The Imperial Tomb remains the ultimate proving ground for high-level parties. This ancient burial site is now one of the most efficient locations for gathering the Red, Wind, and Water Stones needed to amass Ancient Adena. Beyond the lucrative stone trade, the tomb offers a massive influx of experience and standard Adena, making it a mandatory stop on your journey to power.
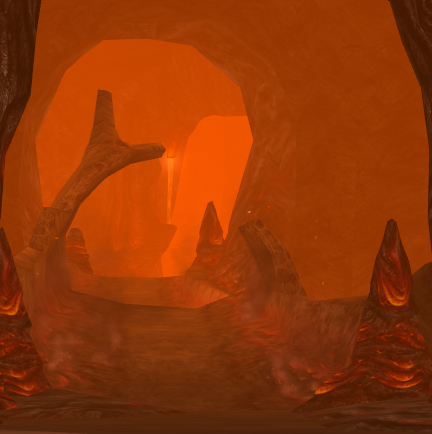
Deep within the volcanic depths, the Forge of the Gods burns with relentless intensity. This legendary zone is optimized for warriors who want to combine efficient leveling with wealth accumulation. It is a prime source for Ancient Adena stones, where the high density of monsters ensures a steady flow of Red, Wind, and Water Stones alongside significant experience gains.
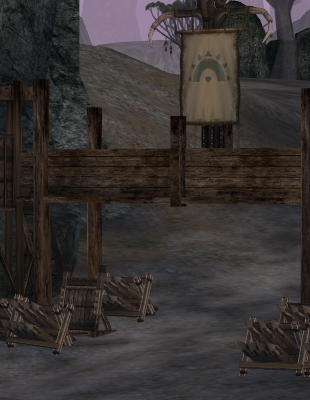
The Varka Silenos Stronghold offers a reliable and steady path for mid-to-high level character progression. This militaristic outpost is a staple for players focusing on consistent leveling while securing a foundation of wealth. Hunters here can expect a balanced drop of elemental stones for Ancient Adena exchange and a healthy amount of standard gold.
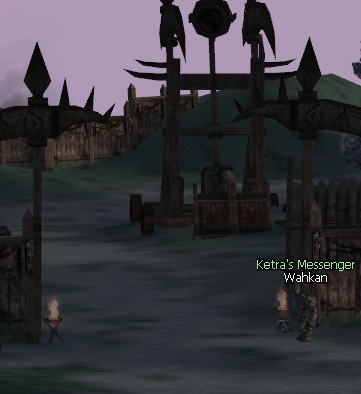
Brutal and uncompromising, the Ketra Orc Outpost is a battleground where strength is the only law. It serves as an excellent alternative for fast leveling, providing adventurers with a steady supply of Red, Wind, and Water Stones. Whether you are farming for Ancient Adena or pushing for your next level, the fierce Orc tribes provide the perfect challenge for any seasoned warrior.
Events
Periodic events with special rewards.